Designing a Minecraft Expressway with AutoCAD
Taeko & Co. has always been a very road-oriented server, with the first technology (piston + pressure plate) for driving uphill with boats on ice roads being introduced serverwide in August of 2020. More recently, our roads are now made of terracotta, and the piston and pressure plate system has long since been replaced by the TCBoatTweaker mod.
New developments in both road construction technology and the boat mod, as well as the growing importance of the Wengen-Passodome-Trotrea corridor, means that it was only a matter of time until a Transpassodome Expressway was to be constructed, alongside the existing Transpassodome main road (H4) and Transpassodome railway.
This road has to be good, of course. It is going to be the new most travelled section of pavement on the server, as soon as it opens. It will shorten the travel time from Wengen to Trotrea by at least 60 seconds, which is a lot on this scale. To achieve the perfect curves and angles, I decided to finally take the planning to the next level: using AutoCAD. And so I did.
As a student, AutoCAD was easy to get. I submitted sufficient ID to prove that fact, and was then granted a year of membership and access to all Autodesk’s products. After downloading AutoCAD for Mac, it was just a matter of learning the controls.
Making a Base for Drawing On
Obviously it would be difficult do just go ahead and draw on top of a Dynmap or Worldmap export of the world, as there is no usable or visible height or slope data. To get a proper base, I followed a tip from YouTuber Alpine1 and used Worldpainter to color different elevation levels with different wool colors, and then export the world as an image (cropped):
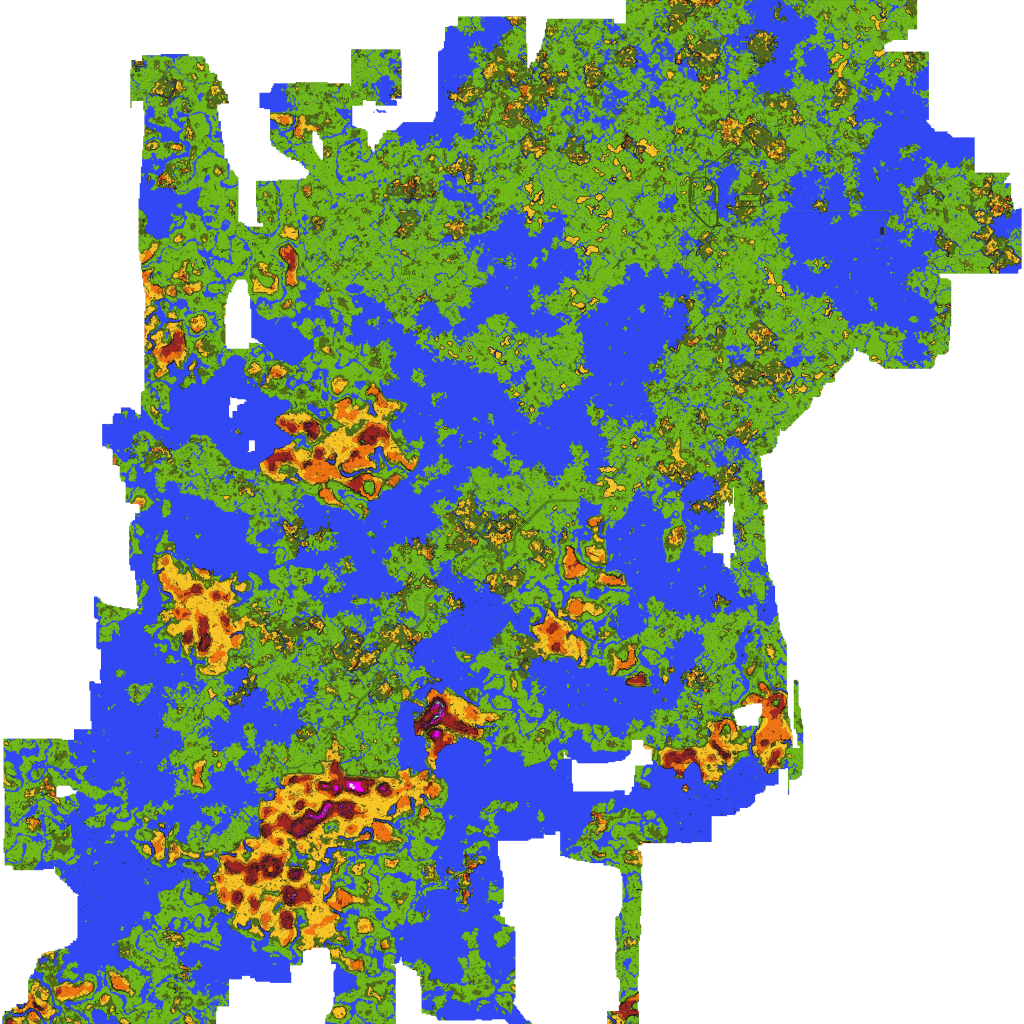
One huge additional advantage to this is that Worldpainter exports 1 pixel per block. This means that, even if I crop the image, the in-game dimensions are exactly the image dimensions.
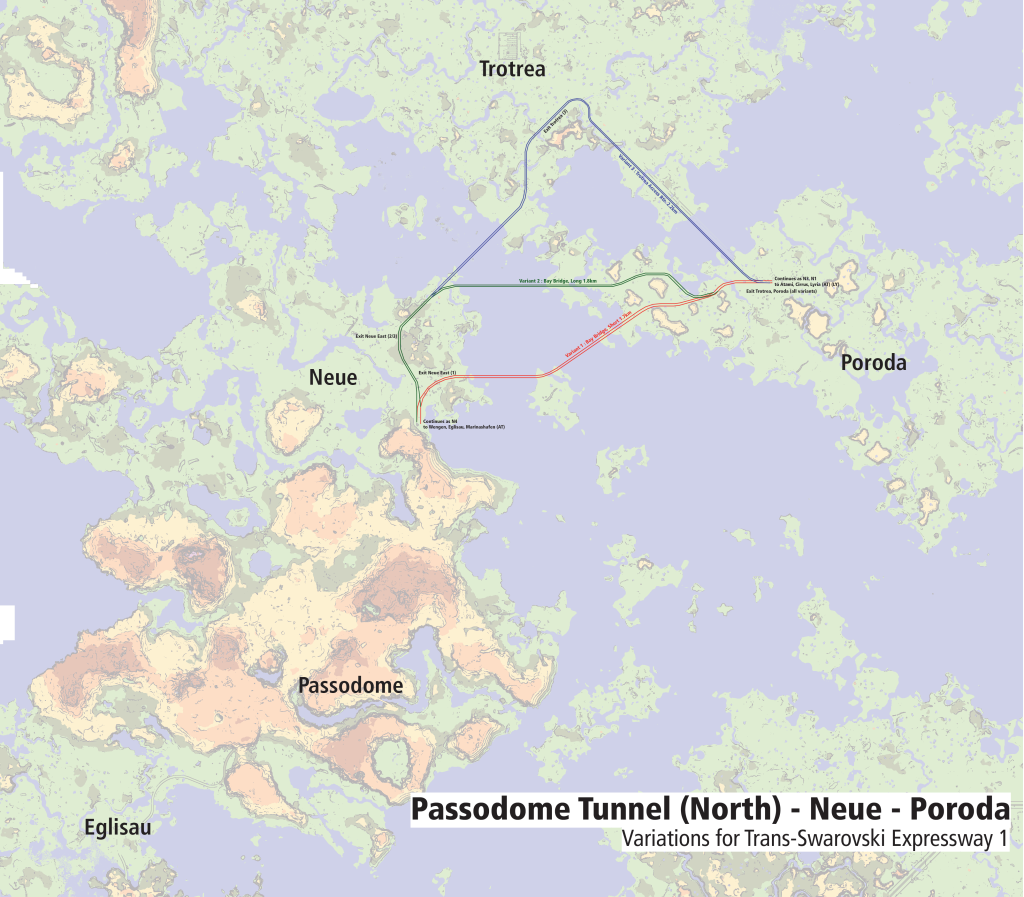
Now, I could get started on the actual engineering part. I first marked the end of the Passodome Tunnel (so where the road needed to start), as well as the end of the N3 (where the road needed to end), and got started with converting the following draft into proper plans (variant 1 in red).
After fighting my way through learning AutoCAD basics and all the required tools for around 10 hours, I ended up with the final design for the N4 expressway in Swarovski.
Using some Pythagorian Theorem, I calculated the centers of the circles and entered that, as well as the radii themselves into MiniHUD’s handy circle holograms in game. The result looks amazing in my opinion, although there is still much work to be done until the road is finished 😉